

In a previous post I mentioned how I have been commissioned to plan a party and either make and/or purchase all decorations. For unforeseeable reasons the party has been postponed, which actually is all the better for me as most of the decorations I have opted to make myself. It's not long now until the party and I've pretty much got most things under control.
The hostess with the mostest has asked that the decorations have a yellow theme. So I have opted for whites, yellows, oranges etc. So far I have made hanging candles, hanging flower arrangements, paper flowers and I've bought many a lantern. I have to make some more decorations but they won't take long at all.
I promised I'd show you how to make the decorations, so today I bring you a fool-proof way to accomplish bunting (expect to see the other DIY decorations up soon).


Step 1: Purchase some off-cut scraps of material (I like to go with clashing prints but a similar theme... in this case yellow). Lincraft/Spotlight or even Big W sell off-cuts or scrapbooking size portions of material which work well.

Step 2: Draw the triangular template onto a thin sheet of cardboard. The measurements I used can be seen on the above photo (once you've sewn in the edges, it will take each measurements down about 1-2cm) but obviously you can change this around depending on what size bunting you're after.

Step 3: Pin the template on the material. Don't worry if it puckers slightly, this is normal and won't affect the shape (so long as you can cut well)...


Step 4: Cut around the template. I folded my material in half and then half again so I would have four cut outs in one go because I am really time efficient (read: super lazy).

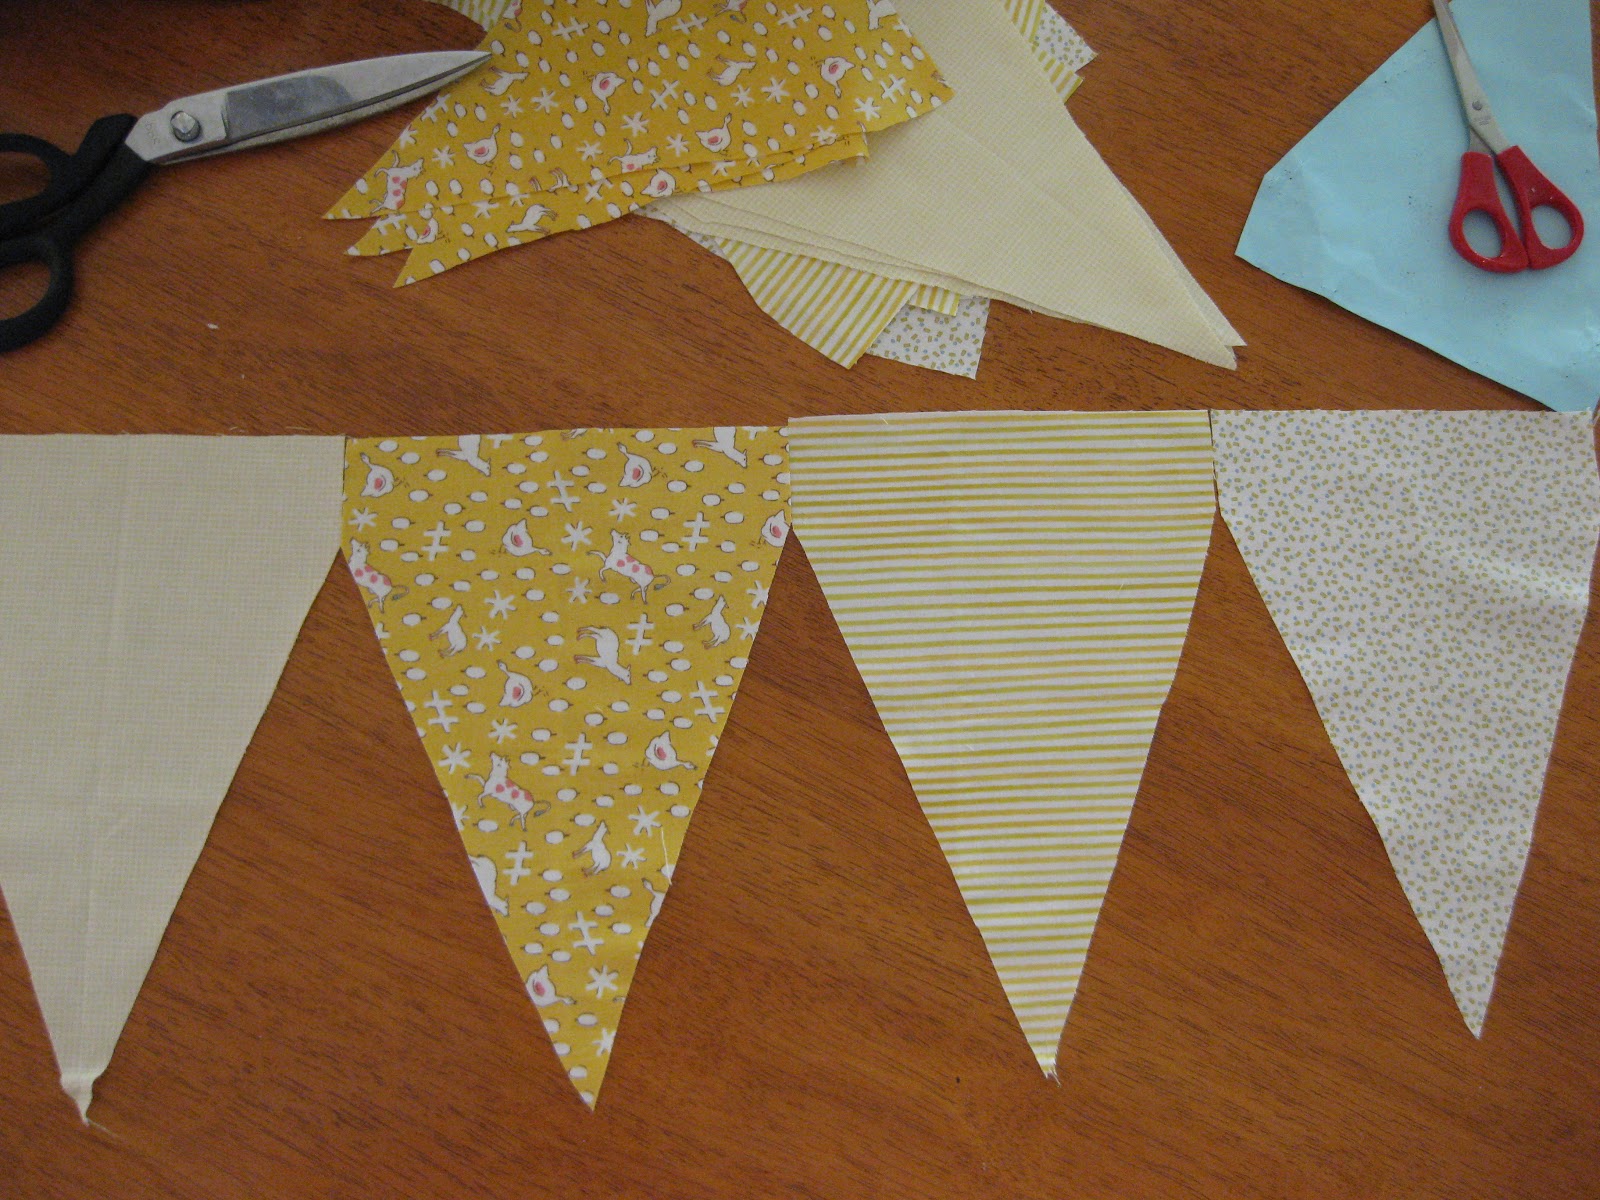
Step 5: Lay out the pieces you've cut into the pattern you want so you don't make any mistakes once sewing. Important: I back two bits of material together for bunting (you will see the effect between steps 10 and 11). I like to back two clashing prints. If you are mounting the bunting to a wall there is obviously no point in doing this, but if you're hanging it I think it's very important to ensure either side of the flag is covered in material.

Step 6: Pin the two triangular parts together INSIDE OUT. Important: make sure the pins DO NOT run parallel to the material as seen above. This is easier for the needle to pass over. If you run it parallel there is an extremely high chance you'll break your sewing needle.

Step 7: Git sewin' y'all!


Step 8: When you reach the point of the triangle keep your needle in, raise the foot and spin the material in the direction you need. This will ensure one solid stitch the whole way through.

Step 9: Do not sew across the top line just yet - essentially you just want to sew the V shape.
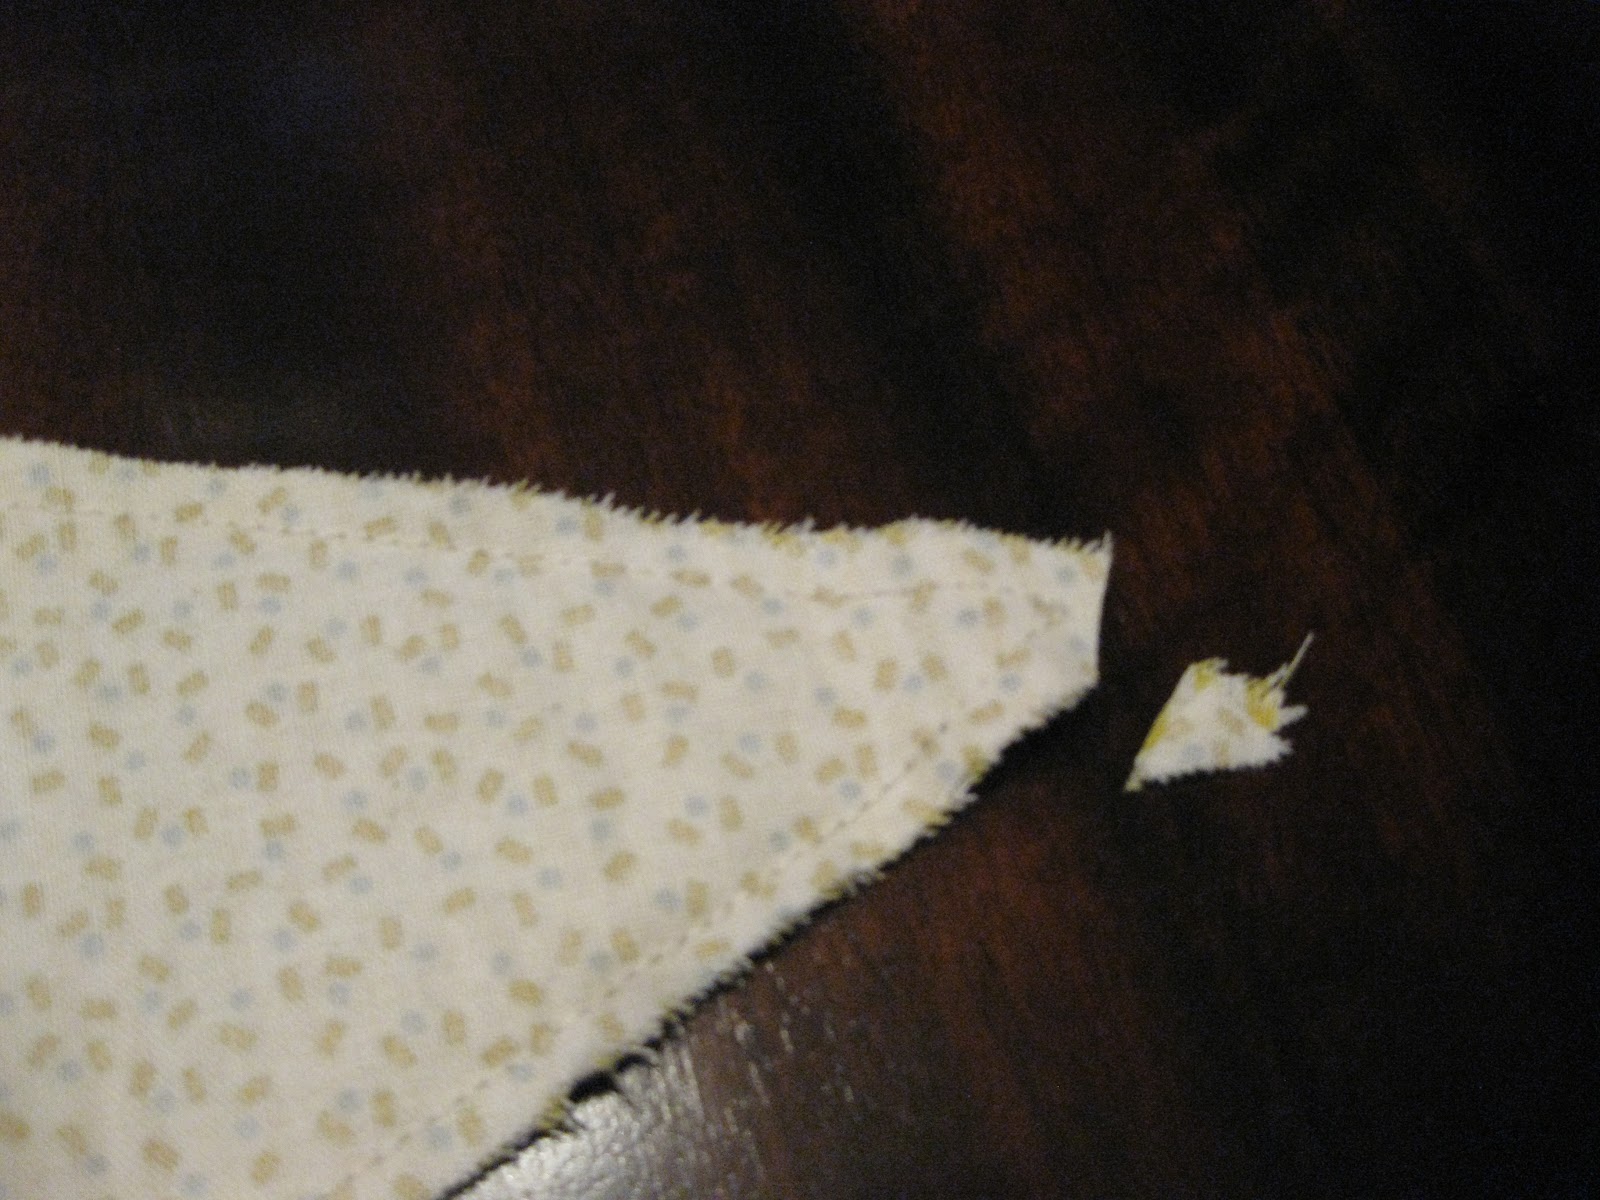
Step 10: Cut the point of the V off (not over the stitching dummy!) so when you turn the triangle inside out it's easier to push through.


Hey presto!! This is either side of my bunt (?) after it's been flipped the ride way and ironed.
Continue steps 6-10 with the remaining triangles to prepare each segment.

Step 11: Thread the string through the top of the of the material and pin down (I folded a 1cm portion over). I chose a string for a simple, inconspicuous line (I'm using string on other decorations so it will tie-in nicely). Make sure you leave enough string at the end of the material so you can tie it up easily (I left about 1m). Again: note the pins are at 90 degree angles to the edge of the material so as not to break the needle.

Step 12: Sew sew sew!

Step 13: Make sure you have even intervals between each flag - because I have quite a long line I chose a 5cm space between each. Continue steps 11 and 12 and finish the entire line. Make sure you leave another 1m at the other end of the bunting to tie it up!

Viola!
B.U.N.T in perfect cursive... any more brain busters?
Hot tips - you don't need a sewing machine to make bunting! Instead of sewing the edges down on each triangle for a smooth line, simply use pinking shears for a cute, finished edge. You can also glue/use double sided tape to stick the top of the material down over the string.
Edit - make sure you iron each individual flag before putting on the string - unlike old amateur hour above.
No comments:
Post a Comment